With concerns about clean energy, overconsumption, and climate change reaching a fever pitch, more and more people are making the move to solar energy. If you’re one of them, here’s a guide for you.
The average solar energy system uses photovoltaic panels to convert sunlight to electrical energy. They do this by concentrating solar radiation through mirrors. The energy gathered from this is used to generate electricity, which can be stored in batteries for backup whenever regular power fails.
Solar technology has become increasingly popular because it’s more cost-effective than most energy sources. Besides being sustainable, it also promotes energy independence among users who are looking to improve the way their homes are run as well as their overall value.
The entire system consists of the following components: a series of solar panels, an inverter, a mounting system, and a controller. Together, they can produce direct current from the sun, which the inverter then converts into alternating current for regular household usage.
Most people prefer setting their solar panels on their roofs to get optimal sunlight exposure and more energy in return. But you can also set up a system on the ground if you don’t have enough space. If you do this, make sure that no walls, trees, and other objects are in the way of the sunlight. This should allow you to get as much energy as possible.
If you’re planning to install solar panels for the first time, the best thing to do is to work with experts like those from Smart Solar Energy or similar providers in your area. They have the tools and expertise to help you find the optimal placements and fix your panels to your grid at reasonable prices.
In the meantime, you can grasp how solar power system installations work by following these steps:
Before
1. Ensure You Have All The Components That Make Up The System
Before you get to installing your solar power system, you need to have all the parts first. As mentioned at the start, you will need:
- Solar panels
- An inverter
- Battery packs
- A charge controller
Aside from those, you also need these things to connect your solar power system to your home grid:
- An MC4 connector
- Meter
- A breaker
- Fuses
One way to know if you have all the stuff you need is to check the user manual that comes with your solar panels. Some high-quality ones are usually bought with some of the components already included, so make sure to keep an eye out when you’re shopping around.
2. Erect The Scaffolding
If you’re preparing to place your solar panels on a roof, you should first set up the scaffolding. This provides a working platform for you or your contracted installers to safely move around at an elevated point.
Prepare the scaffolding a day or two before the installation, especially if it’s a storied building. Check it regularly until you get started or the installers arrive to ensure it stays secure.
3. Set Up Solar Panel Mounts
After putting up the scaffolding, you can move on to fixing the solar panel mounts. Place one or more depending on the number of solar panels you plan to use. Make sure you place the mounting structure at a tilted position with an angle of 18 to 36 degrees. This placement allows the panels to get as much sun as possible.
4. Know Your Power Load
Summing up the average amount of power you use at home is critical. So, draw up a list of all the appliances you and your household members use. These should include:
- Refrigerators
- Bulbs and lamps
- Electric cookers
- Iron boxes
- Washers and dryer
- Television sets
- Personal computers and laptops
- Plugged gadgets
- Gaming stations
- AC
Once you list everything, the next step is to calculate the approximate time these appliances run daily and their power ratings. After that, multiply the power rating of each appliance by its runtime. Repeat the process for each electrical device until you have the cumulative amount for each. Finally, add them together to get your overall power load. An online off-grid calculator can simplify the process for you.
5. Set Up The Battery
For a home solar power unit to work, it needs a medium for storing the electricity it produces. That’s the job of the battery. This component allows you to store energy generated during the day so you can use it at night or whenever you can’t access your regular power.
Solar batteries are available in either lithium-ion or lead-acid forms. Which one you choose depends on how much power you want to store for later use or emergencies.
It’s also important to know if and how your battery is charging. Power controllers can help. These are fitted between the solar panels and battery and have small LED lights which show the battery’s charging status. Also, it can control and adjust the power flowing into the battery.
6. Prepare The Inverter
As previously mentioned, solar panels produce direct current that needs to be converted for home devices to be able to use it. The role of an inverter is to facilitate this conversion of DC to AC. This saves you the trouble of using adaptors.
Inverters vary in their power storage capacity. It’s also important to match the inverter you’re using with the devices connected to your home power grid.
Where you place the inverter also matters. It should be located in a cool place to maintain efficiency and avoid damage from overheating. The utility room and the garage are some of the best options indoors since these usually stay cool for most of the year. If you’re placing the inverter outdoors, make sure it stays out of constant sunlight.
7. Set Up The Stands For Your Battery And Inverter
Your solar unit is incomplete without having stands for the battery and inverter. While you can make your own, you can save time and effort and even avoid problems by just getting what the manufacturers also sell.
Once you have placed the battery and inverter in their respective positions, you can set up the wiring. Use it to connect the controller to the solar panel and pair the battery with the controller.
During
8. Erect The Solar Panels
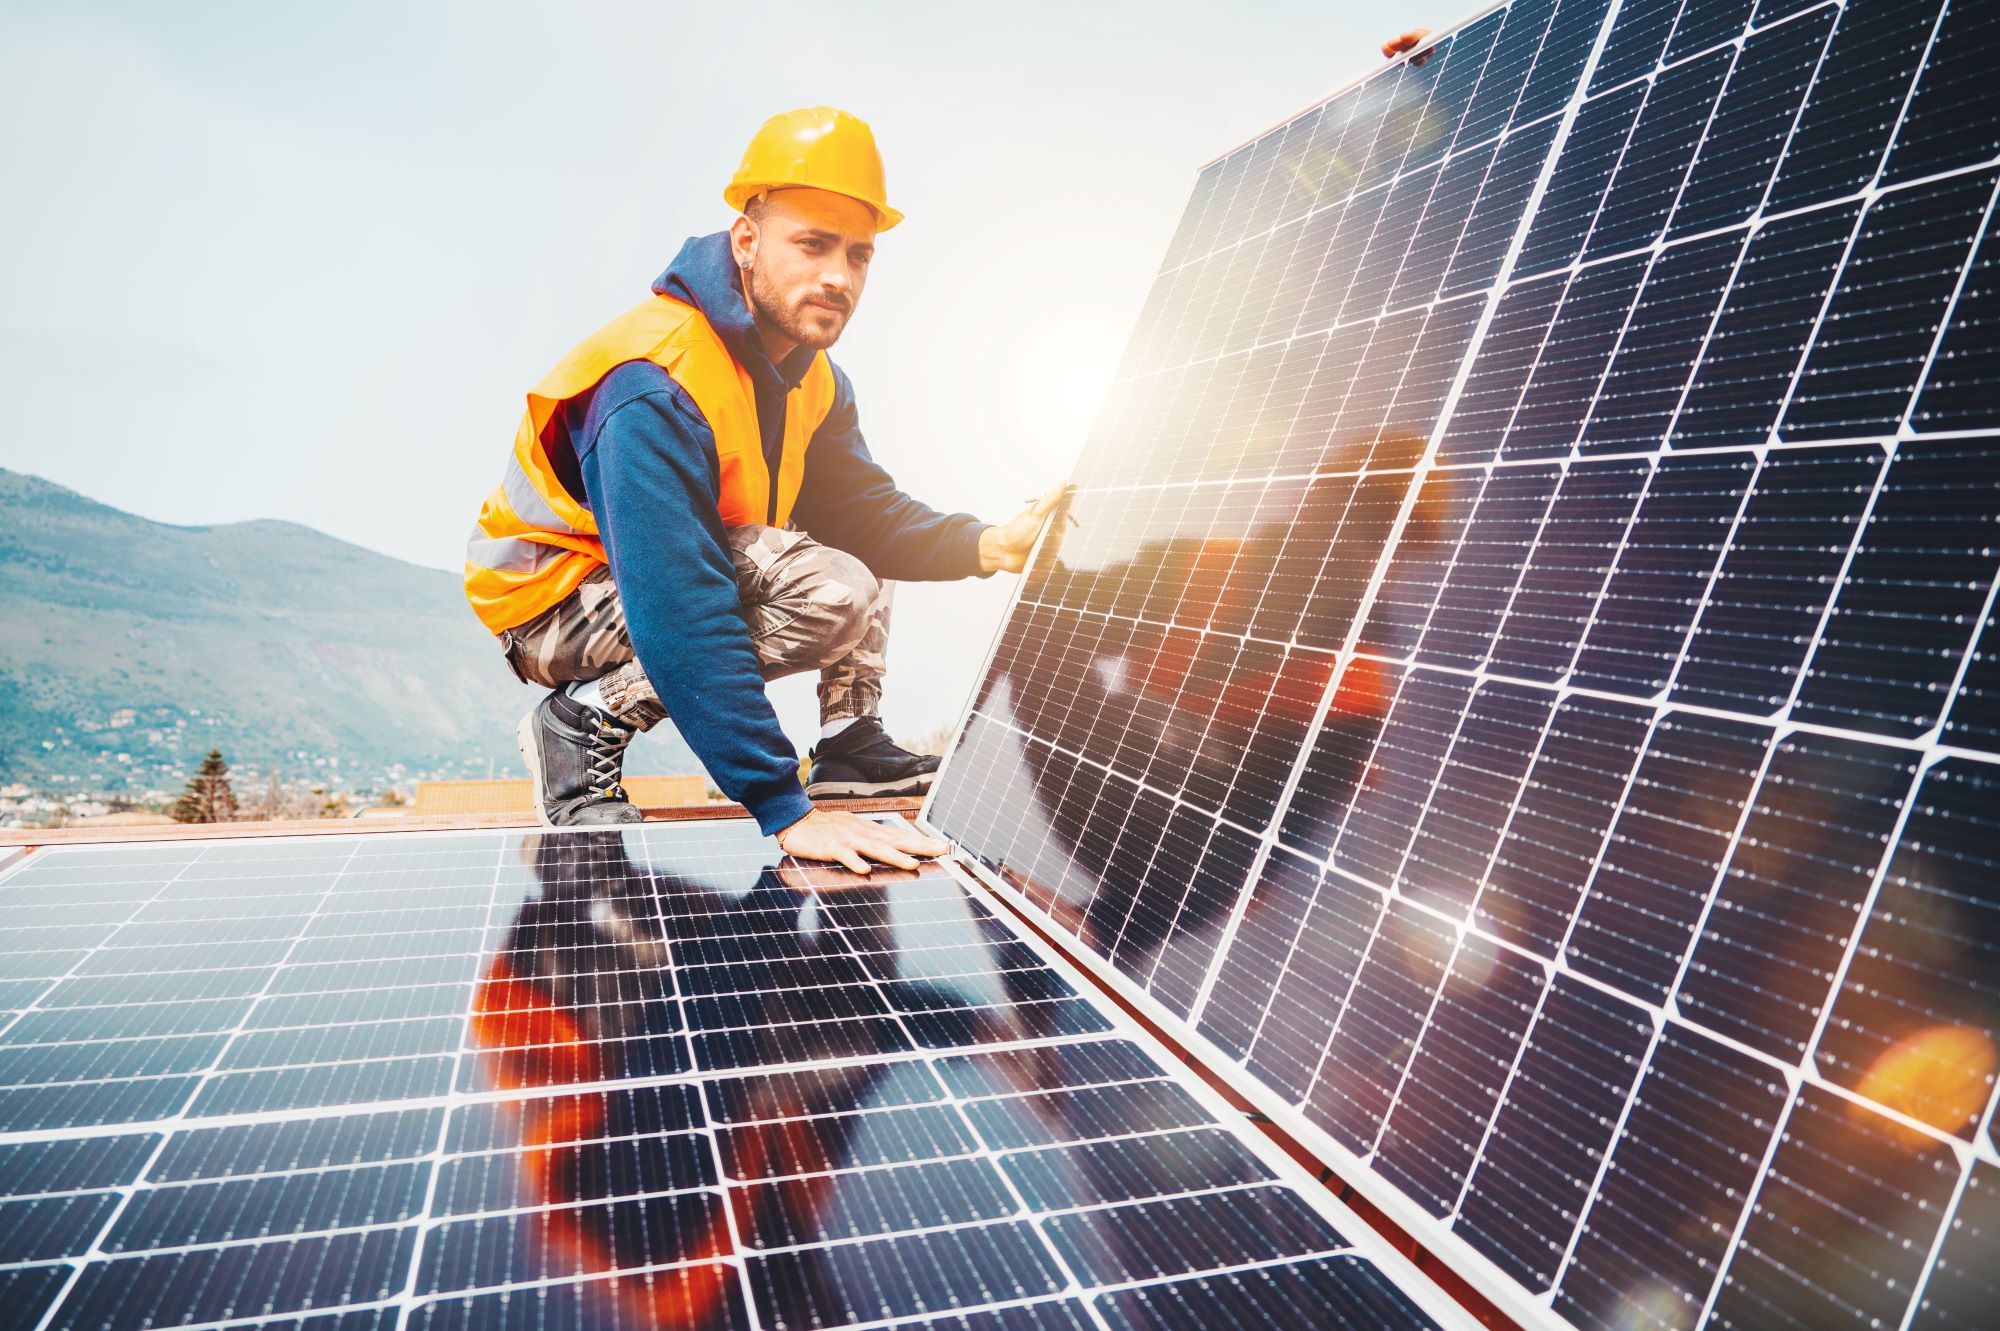
With the mounts, stands, and scaffolding in place, you can now work on putting up the solar panels. Lock them into the mounts and tighten the nuts and bolts snugly for maximum stability. This will help you avoid regularly climbing on the roof to readjust the panels whenever they get moved by wind or other things.
Once the panels are locked in, the next thing to do is to wire them. You can try tracing a small junction box at the back of the panel with positive and negative signs. Larger solar panel systems have junction boxes with MC4 connectors for linking. If you’re installing a smaller one, you need to align the external wires with the junction box. The black wire represents the negative terminal, while the red represents the positive.
9. Connect the Battery And Solar Panels
The next step is connecting the battery with the solar panels. You’re required to make several connections, both parallel and series. The good thing is that the panels usually come with a manual that can guide you on how to make them.
It’s essential to know the distinction between these two connections. A series connection is when you connect the positive terminal of one device with the other’s negative terminal. On the other hand, a parallel connection combines two devices’ negative terminals.
10. Join The Consumer Unit And Inverter
The consumer unit is what powers every circuit of your home in the first place. Connecting it to the inverter is what brings the electricity generated by your solar panels into your power grid. While doing this, you also need to connect an ammeter to gauge the amount of electricity the solar panel produces. This addition is important in helping you gauge the amount of power you can use over time to gain a better hold on your overall consumption.
After
11. Start And Test The System
After making all the connections and checking the placements of all the parts in your solar panel system are in place, you can give it a test run. This is to confirm that everything is working well. If the battery fills up, the meters are running, and the whole system stays put without things going bumpy, you have successfully integrated solar power into your home.
Enjoy The Benefits Of Solar Energy
Solar energy systems are one of the most accessible forms of alternative energy today. So, there’s no doubt why so many people prefer to set up these systems in their homes. Doing this is definitely a step toward sustainability and cleaner energy, so investing in a system is always worthwhile.
Just make sure you have the tools and parts needed as well as professional help for setting one up in your home. Experience the benefits of solar power today.


