If you plan on preparing your property for the rainy season, it may be a good investment to install a soakaway crate on your rainwater soakaway system to ensure your exterior won’t get flooded. Here’s how you can successfully go about such a process:
1. Find An Open Area
A soakaway crate is usually installed underground to help regulate the amount of surface water present in an area, and minimize the risk of flooding by getting flooding hoses. In some cases, this water management system also helps redirect the liquids present in a place to maximize its usage.
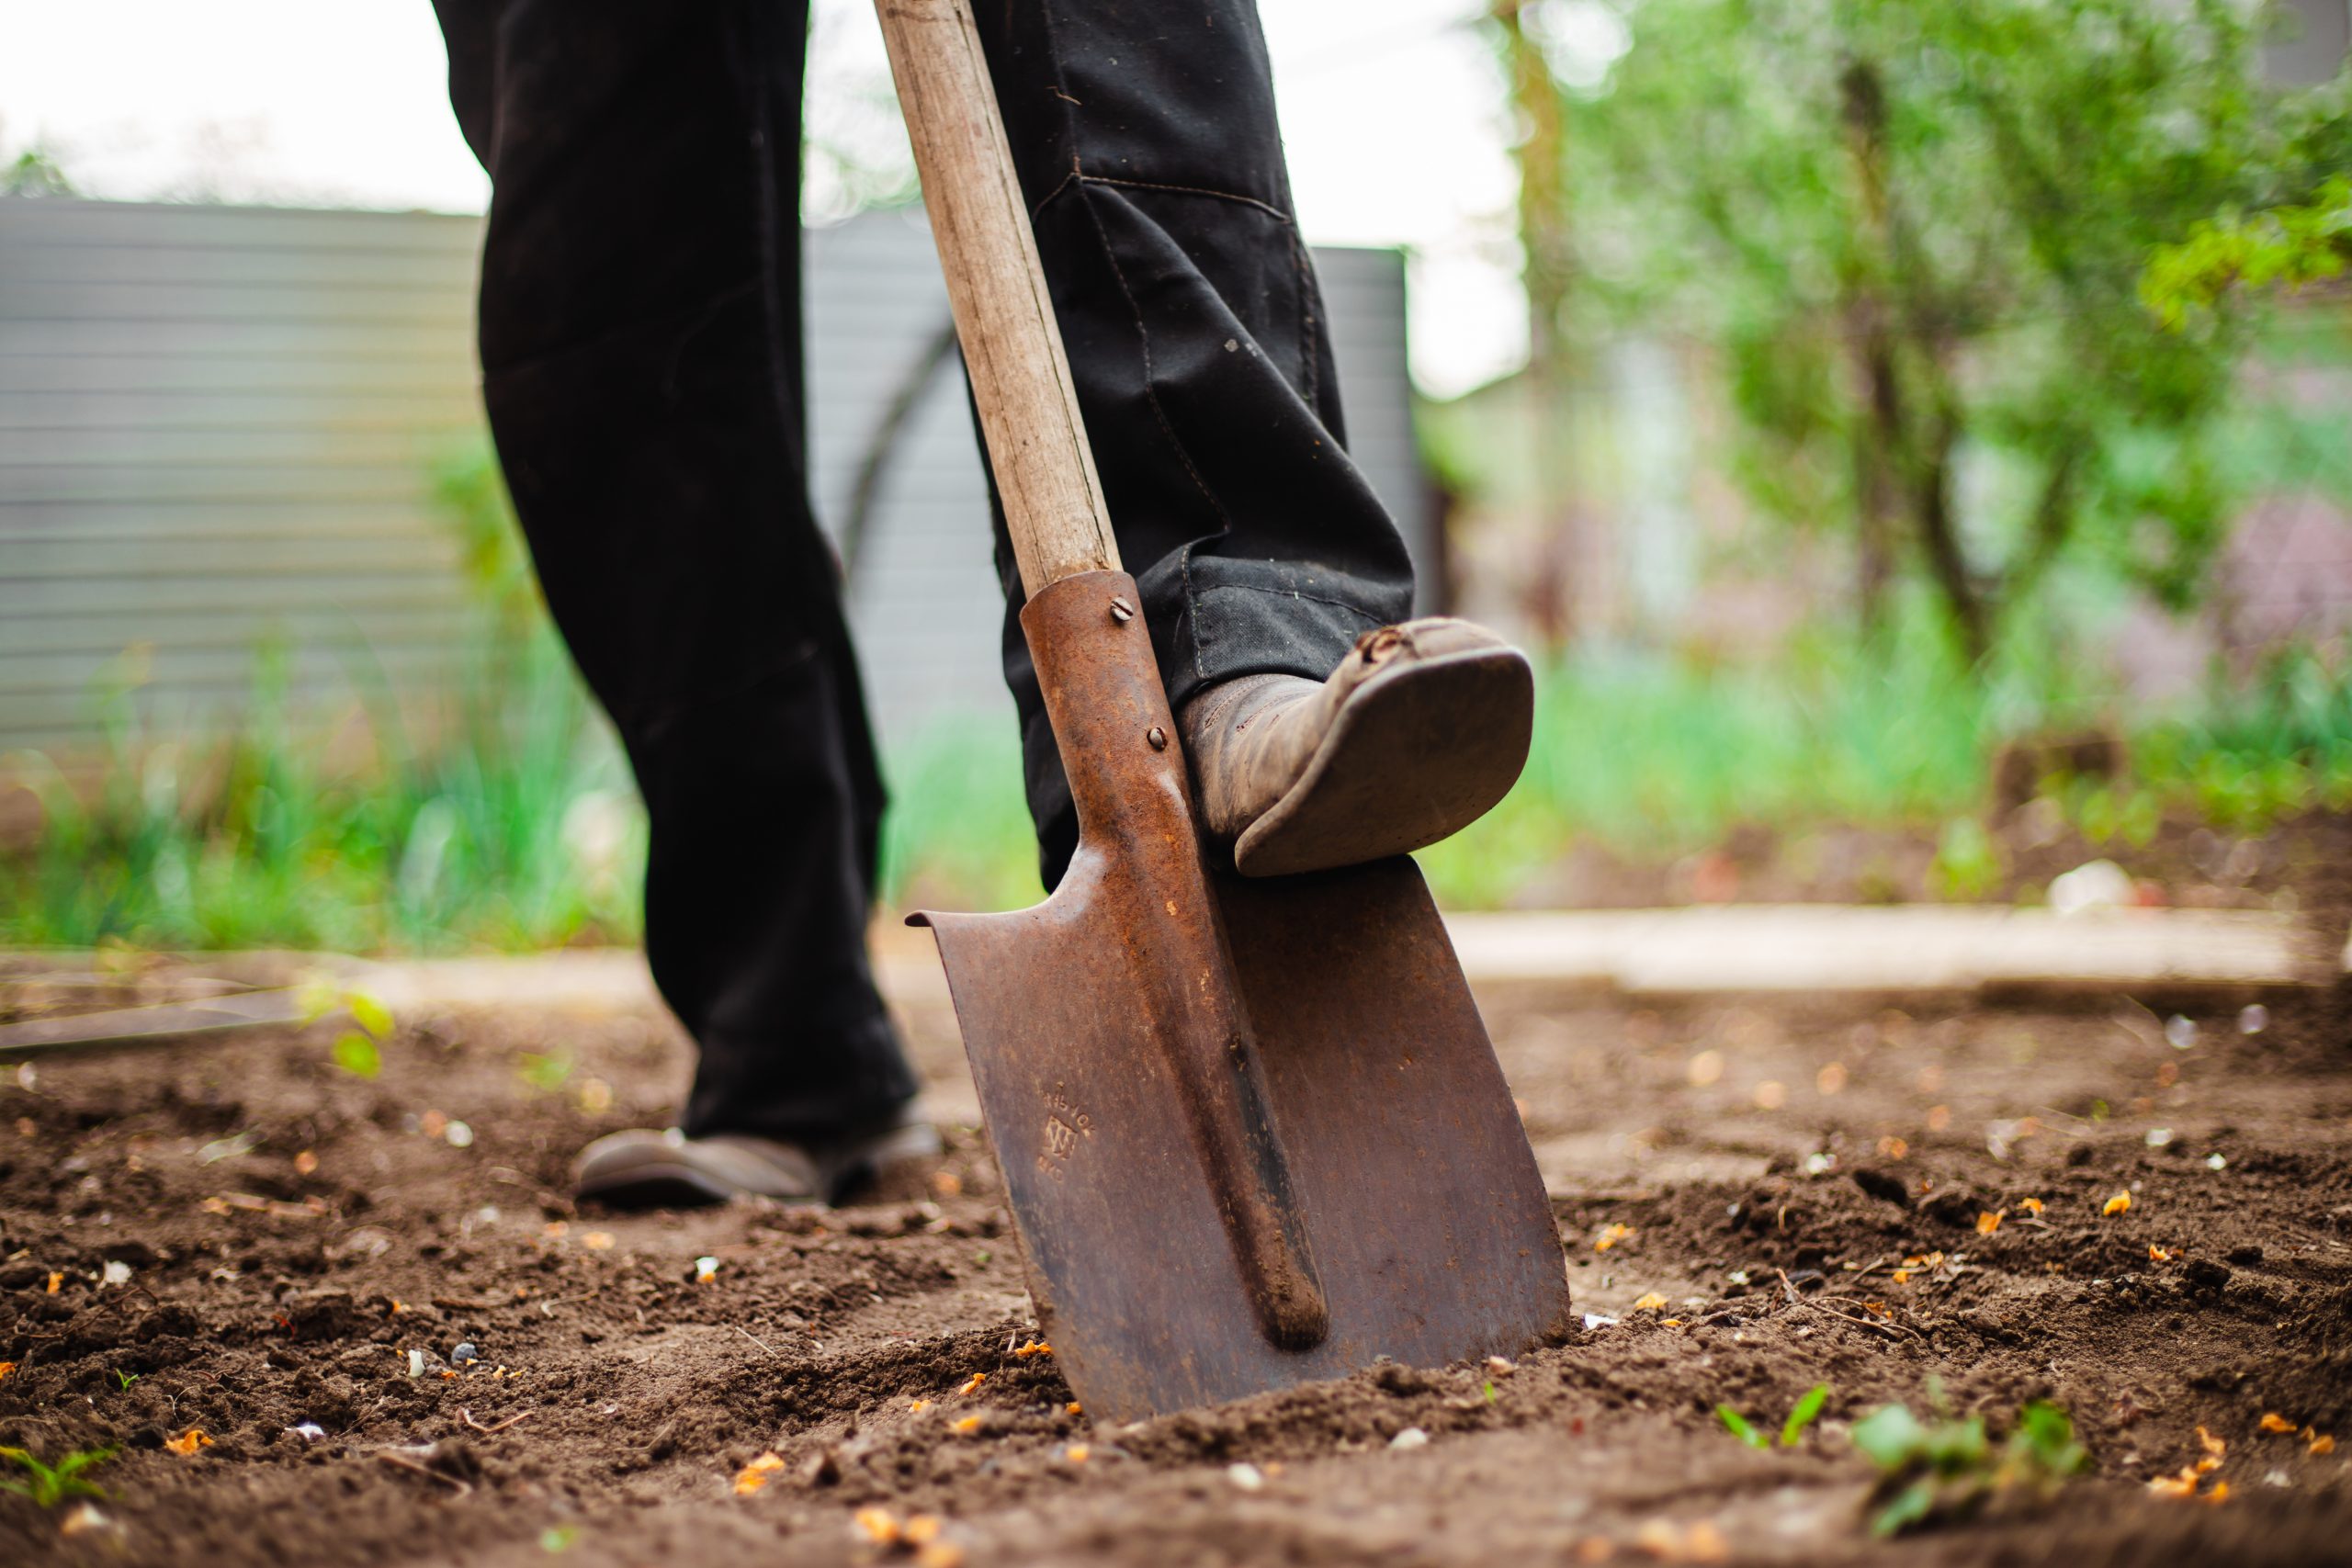
So, one of the first steps you need to take is to find an open space in your property you can dig. Its depth and width should be enough to fit your crate. Additionally, you should leave some space for fillers, like sand and gravel, since these materials will help stabilize the soakaway system.
2. Purchase Your Crates
There are various crate designs you can purchase for your home. Of course, the size and materials you want to get will depend on your needs. If your home is located in an area with a low risk of flooding, getting a standard size may be a good idea. On the other hand, if you require a bigger soakaway, you should consider getting a crate that can handle a larger volume of rainwater.
Companies like EasyMerchant offer a variety of crates you can purchase depending on your property’s requirements. If you’re unsure which model you need and you have limited funds, you can consult with an expert and ask for a recommendation and quotation.
3. Prepare The Base Of The Hole
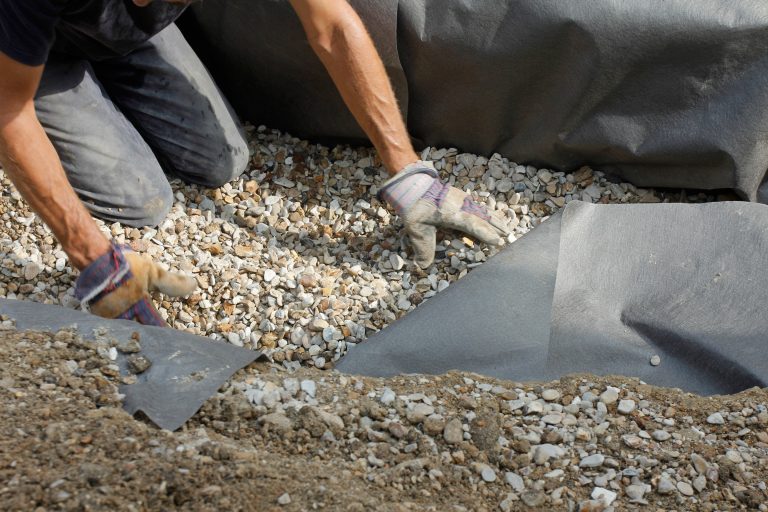
Before you put the crates inside the hole you dug, you should put a base first to ensure the ground will be stable. Usually, a layer of sand or gravel is poured into the hole to ensure the soil won’t erode. Then, a geotextile membrane is fitted into the area where the crates will be installed. This will prevent soil from getting inside the crate voids, which causes blockage and inefficient water dispersion.
It’s best to invest in an excellent base to lessen the risk of blockages in the future. If you use materials that can’t handle the amount of surface water in your area, you may risk spending more money for repairs or reconstruction.
4. Assemble The Crates
If you wish to minimize the amount of work you’ll do, it’s best to get your crates assembled upon your purchase. This way, the only thing you’ll take care of is lowering the equipment into the hole you dug.
However, if you need to build your crate, it’s advisable to do it before lowering it into the ground, as it can be difficult to check whether or not the structure is stable if you choose to build it inside the hole. Additionally, you may require advanced tools to put the parts of your crates together. If you have limited construction supplies, you may need to hire people to assemble your water system. Obviously, this will incur additional expenses and may cause you to go over your budget.
5. Connect It To The Drainage System
Once your crates are settled, the next thing you need to do is to connect them to your drainage system. Try to get a model with a built-in section for a stormwater pipe to make this process easier for you.
6. Secure The Crates
Your crates need to be covered well to prevent them from getting damaged. Make sure to fill both the sides and top to secure their placements. You can fill them with sand and pea singles since these materials are easily accessible and affordable. You can also utilize the same materials you used for the base of the hole.
7. Cover The Ground

The last step in installing a crate is putting back the topmost layer of the ground you dug up. You can put a layer of soil to level the ground in your property or add more singles until the crates are secure. Just be sure to check if there are tender spots and fill them in to prevent erosion. You can walk on top of the hole to flatten the dirt and check for problems.
Final Thoughts
If it’s your first time installing a rainfall soakaway system on your property, you may feel overwhelmed by the process. However, as long as you check your area and prepare all the materials you need before starting the installation process, you can perform this project without any problems.

