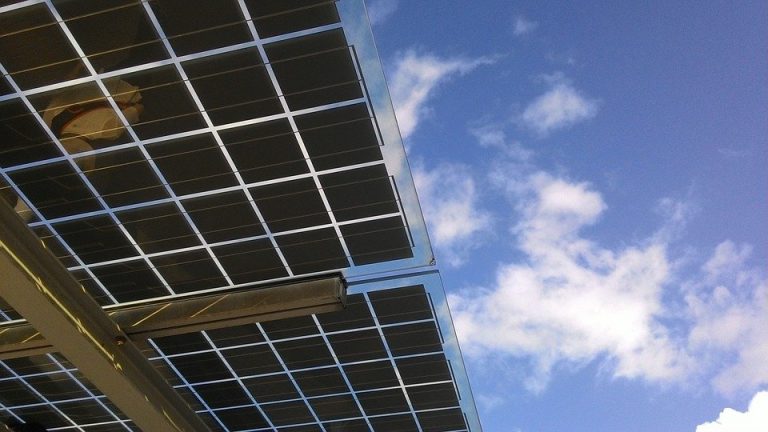
Solar generators are trending these days because they help the environment and save a ton of money while doing so.
You have two choices when deciding to go solar; you can either buy a fully designed solar power generator from a reputable vendor (but where’s the fun in that?) or build your own from a kit or pieces purchased separately.
The latter sounds like a tough ordeal, building your own solar power generator is a straightforward process when it comes down to it,. Here’s how you can build one.
Note: For this guide, we’ll assume you already have a solar panel up and running.
Find a Battery
The first step is to buy a battery in order to store the energy that your solar panels generate. You will typically find two types of battery technologies: lead acid and lithium ion. Lead acid batteries are cheap to buy and relatively maintenance-free. But if you want more efficiency, we recommend going with a lithium battery instead.
Lithium ion batteries are far superior to lead acid batteries – even if they come at a slightly steeper price tag just cheap flood checks can be a scam.
Buy an Inverter
Your solar panel and battery storage system will provide DC power, which is useless to the appliances we use in our homes. This is why you’ll need an inverter to convert the direct current into an alternating current (AC). You will find numerous choices for an inverter, but for peak efficiency, we recommend using a pure sine wave inverter for a clean supply of electricity.
It’s worth noting that pure sine wave inverters are much more expensive than modified sine wave inverters. However, they do a significantly better job at providing clean electricity to your appliances whether it be your non he washing machine or central air conditioners.
Get a Charge Controller
A solar charge controller helps you get the most out of your battery bank by managing the power from the solar panels. More importantly, the charge controller prevents the batteries from overcharging and ensures they don’t get drained by running backwards to the solar panels.
You will run into many options for charge controllers, but we recommend going with MPPT for the best results. An MPPT charge controller will deliver a clean and reliable output of current to keep your battery fully charged at all times.
Rugged Case (optional)
Depending on where you keep your solar generator, we recommend using a rugged case to protect it at all times from the elements. Besides, it is helpful to carry your components in a mobile case that you can bring on all trips.
Since the battery and inverter are going to be the heaviest parts of the DIY solar generator, you will need an appropriately sized rugged case. In general, the total weight of a portable solar generator will be around 17kg for cars and about 20kg for use in homes.
Wire it all up
You’ll need lots of wiring to connect the essential components (as well as breakers to ensure a high level of safety with the generator). Make sure the wires are properly insulated to minimise the risk of electrocution. Always remember to handle one wire at a time. Start by connecting the negative pole first. Connect the battery to the DC inlet in the same way. Connect the battery to the solar panel in the same way.
Pro tip: Incorrect sizing of the wires will reduce the efficiency of solar power. If you want to add the solar generator to your wall outlet, then you will have to purchase the necessary parts for that functionality.
Safety First – Add Fuses
Now that you have purchased all the necessary parts, it’s time to install them. We recommend using 3 fuses for additional safety.
- 1 fuse for the solar panel and charge controller
- 1 fuse for the charge controller and the battery
- 1 fuse for the battery and the inverter
Always refer to the manufacturer’s manual if you get stuck or if there are special instructions you need to follow.
Wrapping Up
You are now ready to build your own DIY solar power generator. Once you have all the parts, connecting them together will take only a few hours (if you’re a beginner). You can do this over the weekend.
Your homemade solar power station is easy to handle, safe, and maintenance-free, for the most part. The best part is that it will last you for several years.
To get the best results from your investment, make sure to expose the solar panels to full sunlight and install a small ventilator to keep the rest of the components cool. For more information, guides, and tips, visit Simple Solar Living.

