

People are now considering outdoor lighting a necessity in most residential settings, and it has grown in popularity as a result. Aside from adding character to your home, outdoor lighting also provides additional advantages, including discouraging crime and overall security.
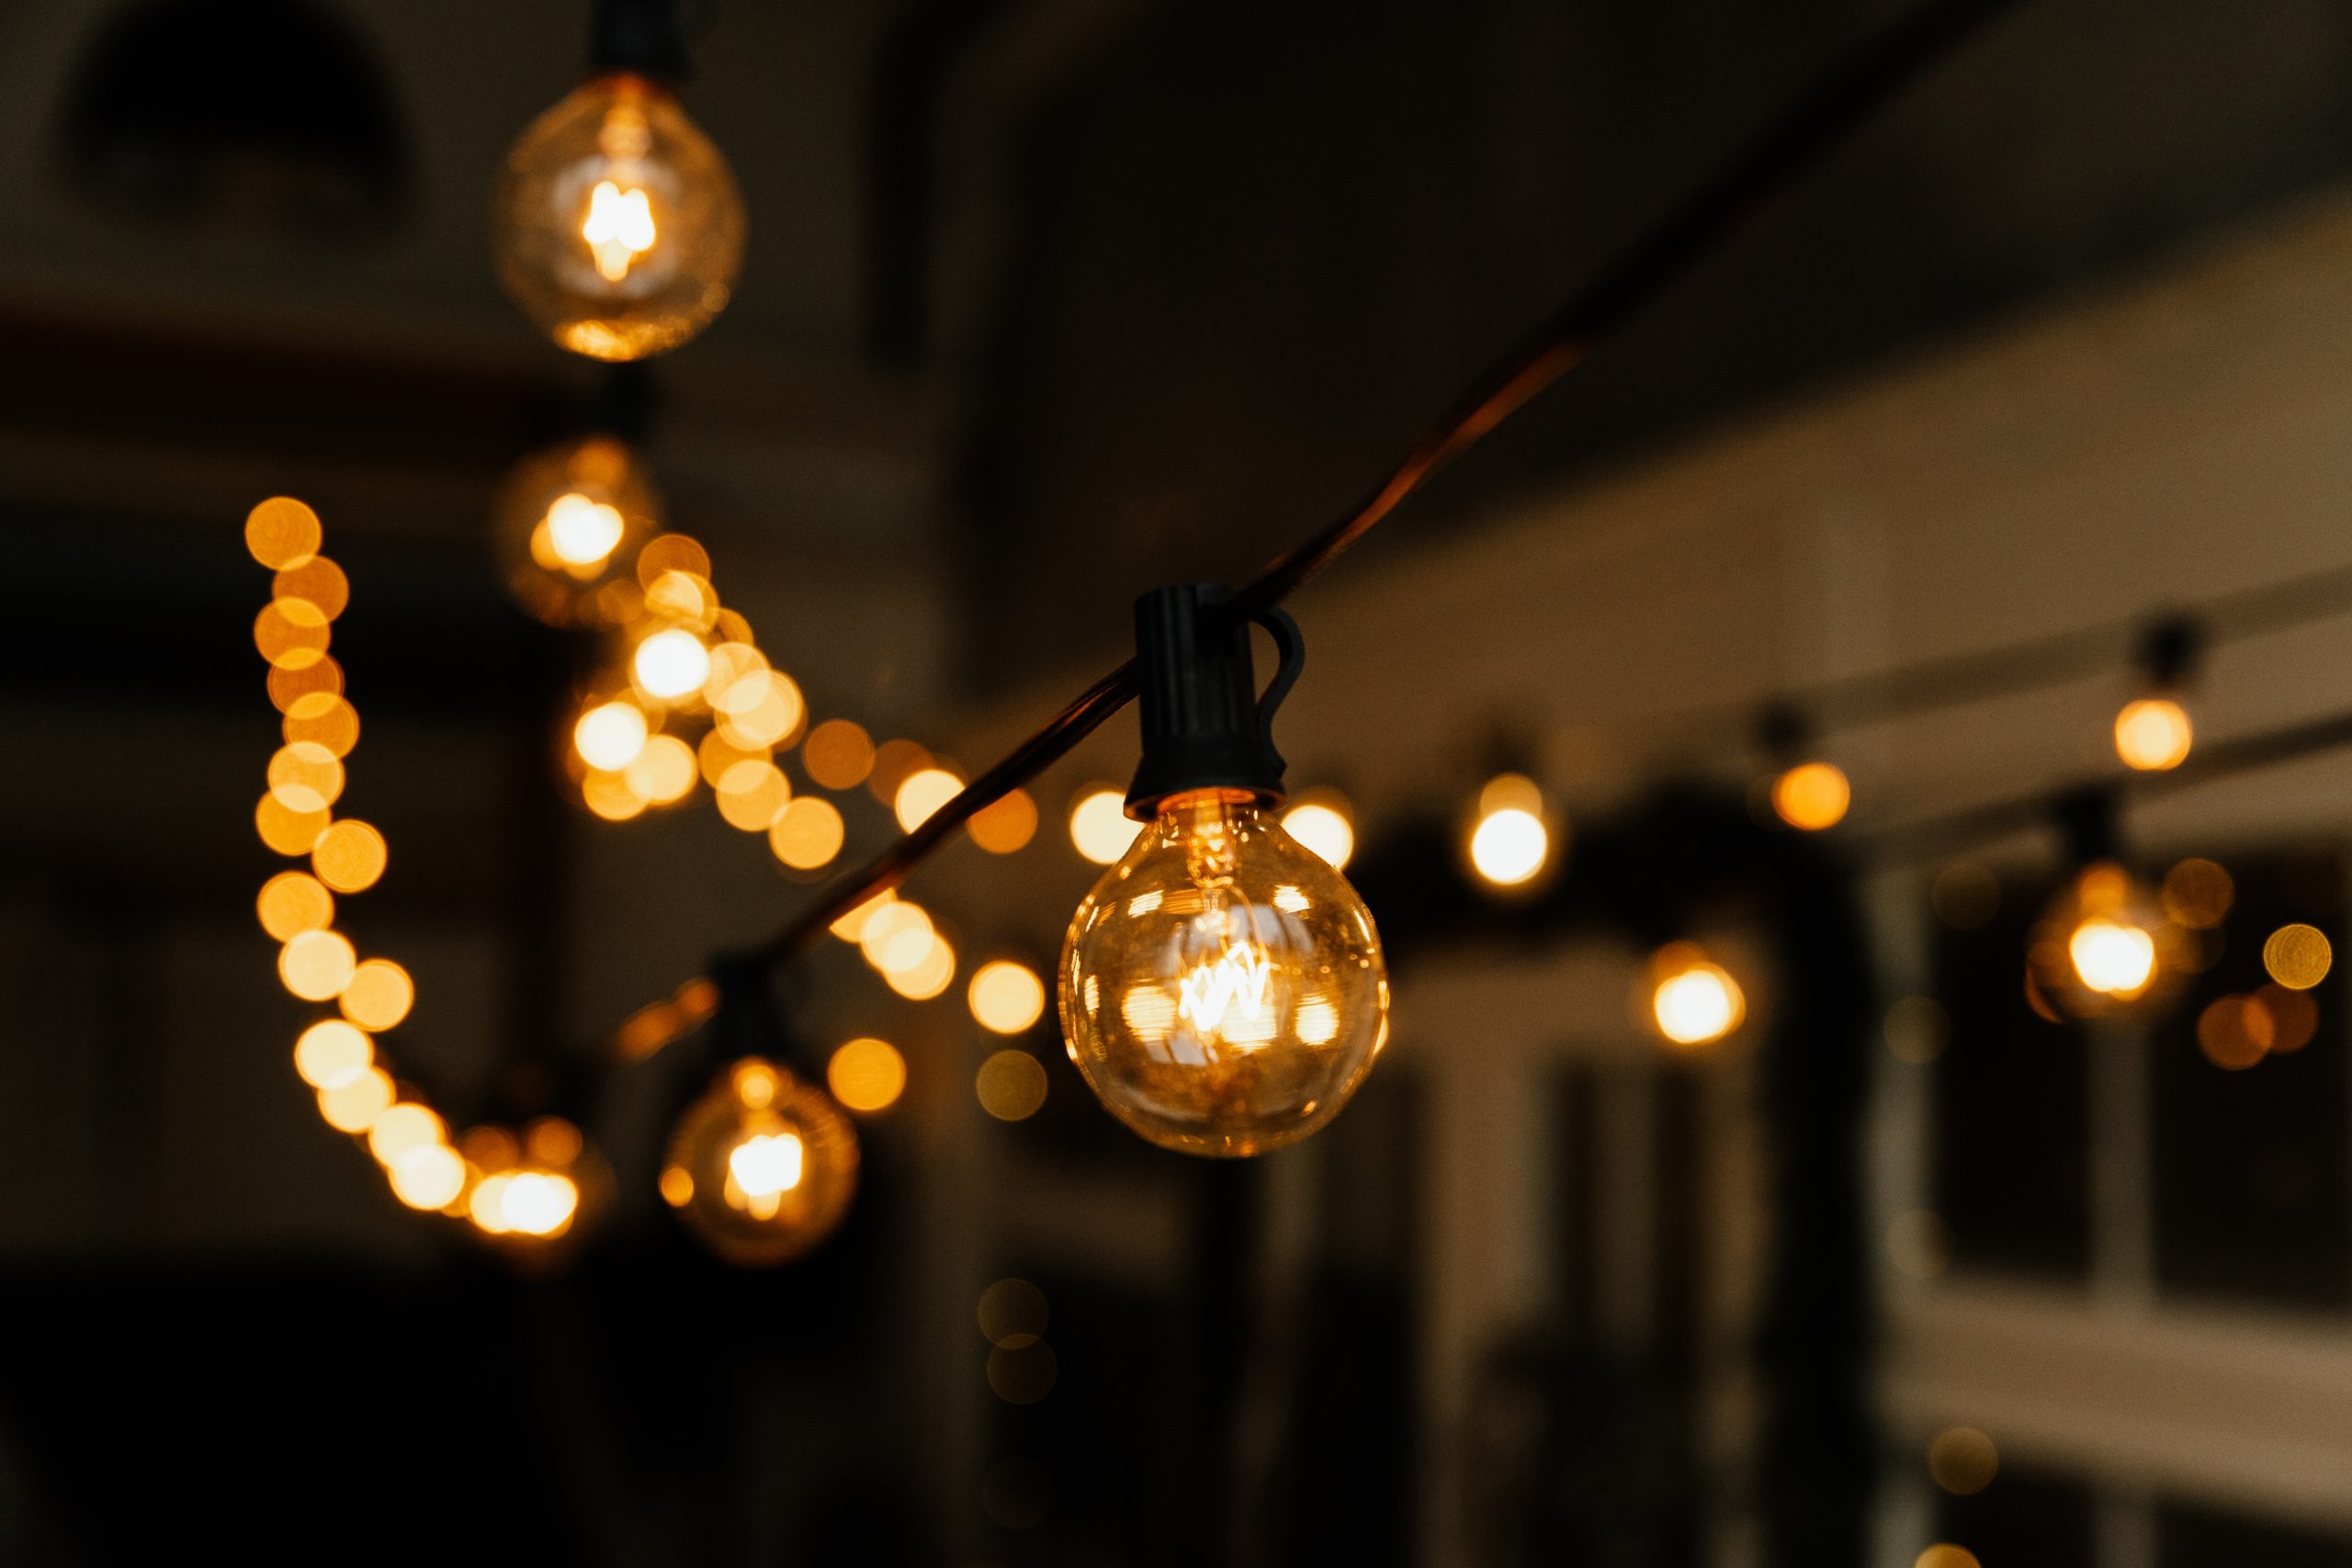
Light-emitting diode (LED) lights have risen in popularity over time, with more people settling for them due to their versatility and affordability. LED lighting is energy efficient compared to other lighting options as it lasts 25 times longer while using 75% less energy.
In addition, LED lights use semiconductors to transform electricity into light, giving them a longer life span, so they won’t need frequent replacement. They’re also brighter and make the best flood lights for security.
The key rule with LED outdoor lighting is to stick to the ‘less is more’ rule. Your lighting option should be able to blend in with the background rather than stick out like a sore thumb. And for cold weather, LED bulbs that provide a yellow color will bring warmth and coziness.
And if you’re into fun colors, LED lighting offers you versatility and freedom of choice in colors. As a result, you can choose colors that match different holidays and celebrations, including red and green for Christmas.
If you’re a do-it-yourself (DIY) lover who craves a challenge, you can take on the project of installing your outdoor lighting. However, you also have the choice of bringing in professionals such as Washington Outdoor Lighting, who will ensure you have a well-lit outdoor space.
Here are some pro tips to help you with installing outdoor LED lighting:
1. Get Your Design Specification
Outdoor lighting varies, and people settle on an option based on their preference. And as you prepare to install them, think of the intended use and what role they’ll play in your landscape design or outdoor living.
The first step is to find a lighting designer who can go through your design and add in or remove different factors to ensure you end up with aesthetically pleasing and functional outdoor lighting.
A designer should give you a few lessons to help you understand the impact of placement and develop the appropriate strategy. The specification will outline the products to be used and their right placement.
With the specification ready, you’ll be able to formulate your budget or develop a plan that can be adjusted to avoid costly mistakes and delays.
2. Settle On The Right Lighting Techniques
To choose the right lighting technique, you’ll need to understand the different lighting techniques available. The placement of your outdoor lighting will depend on your yard and what you hope to achieve.
For instance, if you intend to provide illumination on your pathways, including stairs or rails on decks to prevent potential hazards, you should use the path-lighting technique. Alternatively, if you want to emphasize the texture, you can always use grazing that’s aimed upward on the intended object of illumination.
Another great option is the wall-washing technique, which is angled in a different position to provide smooth coverage across your property. Other options include shadowing, up-lighting, down-lighting, silhouetting, or moonlighting.
3. Experiment with Clamp Lights
Once you have the plan and location from your designer, it’ll be best to experiment with clamp lights. A clamp light will give you a glimpse into the fixtures’ effect once it’s installed.
For more options, you can always use different colored bulbs and varying brightness levels to choose the best option for your outdoor living space. For the most effective results, ensure you try out the experiment during darker times.
Once you observe the effect, mark the most desirable location while paying close attention to the different options offered.
4. Get The Location Of Underground Wires And Pipes
Most utility lines run underneath your properties, and you can get the positioning from your utility companies to avoid hitting them. So, to be cautious, you can ensure you miss the wires and pipes when installing the lighting.
By knowing the location of your underground wires and pipes, you’ll be able to avoid the lines that, once hit, can cause damage. And this can end up being too expensive to fix or replace. Such mistakes can end up throwing you off your budget and can affect your lighting project.
In addition, you’ll get an idea of the kind of tools you need for digging and stay prepared for other future projects.
5. Consider Solar Lighting
Solar lighting can be your best option when choosing a light source due to its advantages. It’s a cheaper and greener option that converts sun rays into electricity that powers your outdoor lighting. Solar power works well in the majority of the country’s sunny regions, making it ideal for utilizing sunlight.
You can save a lot on electricity bills that tend to rack up over time due to the high voltage electricity options. In addition, it’s easier to install without much instruction.
6. Install Wiring After Planting
To avoid accidents, it’s highly recommended to wire your lights after your landscaping is done. In doing so, you’ll avoid slicing into freshly planted trees and flowers and having to spend more on replacing them.
When installing wiring, avoid gardens or places frequently used to plant flowers and vegetables.
7. Don’t Use Quick Connectors
When using wire connectors, opt for weatherproof options with a shield on the bottom and sealant inside. Weatherproof connectors offer guaranteed shielding from different elements that can cause failure in the long run.
Next, ensure that the connectors aren’t low quality to avoid experiencing corrosion caused by different elements. By getting quality connectors, you can save money in the long run due to slow corrosion.
8. Try Not To Overlap Pools Of Light
When installing your outdoor lights, it’s important not to overdo them as they may end up causing light pollution. If you install too much light, it can cause visual discomfort by providing glare or excessive brightness. As a result, try not to place fixtures too closely together to avoid ending up with overlapping pools of light.
Look for light fixtures that cast a pool of light that ranges between four and five feet. And although overlapping lights provide enough brightness to avoid tripping, they also have their disadvantages.
9. Purchase The Right Transformer
Getting the perfect transformer that matches the lighting design is key to ensuring proper operation and function of the light fixtures. All you have to do is figure out the size of low-voltage transformers that can range from 150 to 900 watts in capacity.
You can take different steps towards determining the right transformer for your lighting by adding up all your wattage. For instance, you can get the total wattage by multiplying the light fixtures by their wattage.
Once you find the total wattage, multiply it by 1.25 to adjust, and the final number will determine how large your transformer should be. With this information, choose a transformer that doesn’t supply less than the required wattage and not 33% more.
You may also choose to mount your low-voltage transformer through an outside electrical outlet. By considering all this, you’ll be able to settle on the right transformer that’s perfect for all your lighting structures.
10. Set The Mood
Depending on the mood you want to set, it’s best to install lighting that goes well with your preferred ambiance. If you use your outdoor space to host a chill night to catch up with friends and enjoy drinks, you’ll need indirect lighting that’s low and moody.
And as the evening transitions, your eyes won’t need to adjust between darkness and light seamlessly by taking away the bulb from everyone’s direct sight.
11. Choose Quality Fittings
LED lighting set outdoors is faced with so many weather elements that can destroy it. As a result, you’ll need durable and well-made fittings that’ll ensure you won’t have to replace them often.
A great choice of fittings is those made with high-quality brass, which corrosion can easily affect. In addition, you also get the perfect base for additional finishes that you’ll eventually need.
12. Illuminate Your Best Features
Most gardens come with different features, such as trees or fountains, with a specific feature that makes the entire space beautiful. Once you identify several features, rank them accordingly to establish depth and harmony.
You should also consider not directing your lighting upwards, making it more visible, and reducing the power and energy used. Alternatively, go for an indirect option that includes adding shielded lights that direct downward to save on energy and power.
Bottom Line
In conclusion, choosing LED lighting is the right decision with many advantages as an outdoor lighting option. You’ll need to choose the right fixture for a spot during placement.
Garden lighting has to make one comfortable, and it must be balanced so that it’s neither confusing nor overbearing. Installing LED lights appropriately will be a way of prioritizing safety, and as a result, it shouldn’t be glaring or blinding.
Above all, try not to overdo your lighting, as the intention is to create an inviting and intriguing atmosphere instead of a confusing one. Try including dark areas that’ll end up creating contrast and balance for an amazing outcome.