

Installing downlights in your home is one way to impart a refreshing ambiance to the different rooms just using different paints from home depot or Benjamin Moore, without requiring too many expenses or reconstructions. The focused lights softly illuminate all corners of the interior. And, given that they’re recessed, they can give your home a minimalistic touch, which is an excellent approach in these modern days. So, it might pay for you to read the brief guide below on how to install downlights in your home.
1. Hire An Electrician
Any electrical work comes with the risk of electrocution. And, if you make any faulty connection, your house could quickly go up in flames as you watch it in disbelief. That’s why many jurisdictions stipulate that a certified electrician must do all electrical installations. Therefore, it ought to be in your best interest to hire the services of a licensed electrical contractor with vast professional experience.
You want to go for the local ones to keep costs minimal. For instance, a Northern Beaches electrician will serve you well if you live around that area.
2. Decide On The Type Of Downlight
There are different types of downlights to choose from, including, but not limited to, the following:
- Recessed Downlights: These are the most popular downlights. Once installed, you only see the front of the fitting, which is flush with the ceiling. The rest of the fixture is concealed behind the ceiling.
- Surface Downlights: Unlike recessed downlights, the bodies of these fittings protrude outside the ceiling. They’re usually used on concrete ceilings, which make it challenging to hide the bulk of the fitting.
- Pendant Luminaires: These hang from the ceiling by a short cord, such that the body of the fixtures stays suspended below the ceiling.
Aside from the above configurations, you have to choose the shape you like. The round ones are arguably the most popular, but you can still opt for square, rectangular, or triangular downlights.
Furthermore, you have to decide between halogen and LED technology. Halogen downlights give an unequaled feeling of warmth, but they consume more power. LED downlights are the best energy savers so far in the market, meaning your electricity bills will be more manageable.
And, finally, regarding the choice of downlights, you better stick to your budget. Once you cater to the functional requirements of the downlights, any extra cost goes to aesthetics.
3. Design The Layout
The common practice is to install several downlights in any given room rather than one central fixture. Therefore, you have to determine the position of the individual light fixtures. Aim at drawing out a realistic pattern on the ceiling with the downlights. If the room is rectangular, you can have something like two or three parallel runs of the lights. Or, if you’re installing them in a square space, you can have the lights form a smaller square within the larger square ceiling.
All in all, follow the general rule of thumb that recommends leaving a space of 1.5 to two feet from the walls, and four to five feet away from one another. Feel free to go above or below these guidelines if the shape and dimensions of your room call for it.
4. Install The Downlights
With all the preliminaries completed, it’s now time to get down to the actual installation. If you have a soft board or wooden ceiling, the first step is to cut out holes at all the predetermined locations. Ensure the cutout size equals the exterior diameter of the downlight. Making an oversized hole will make finished work unsightly.
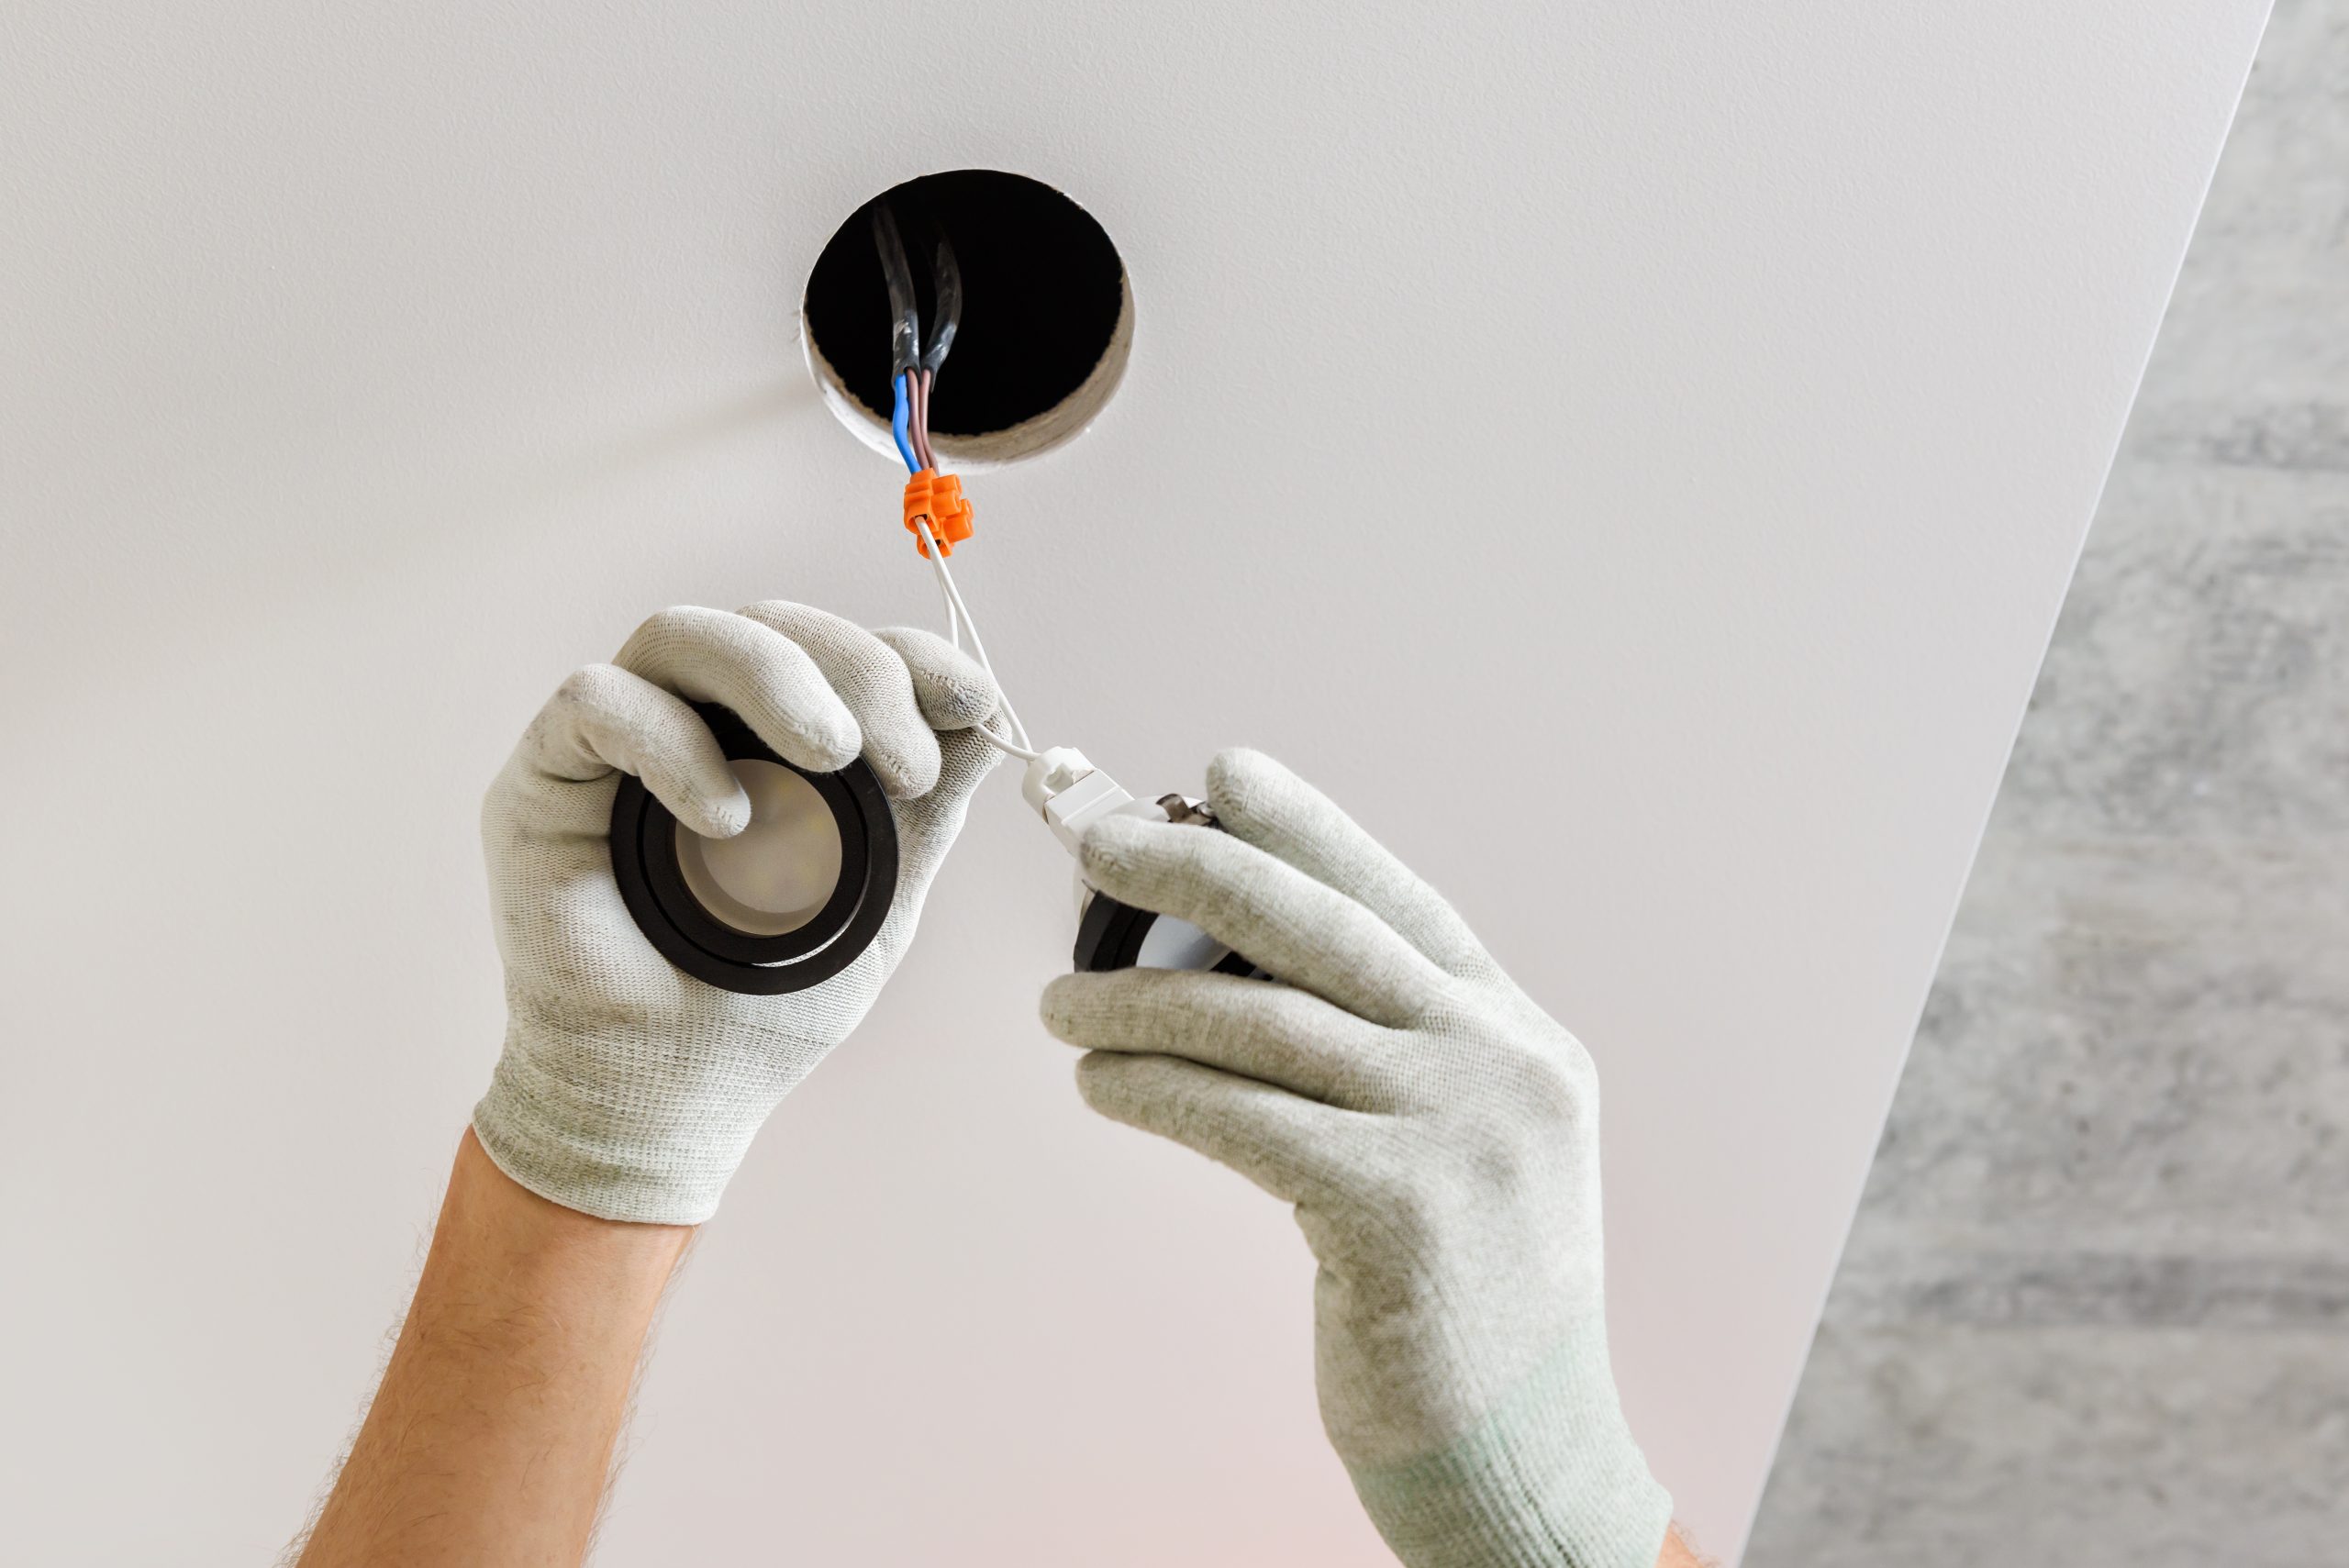
Next, run the electrical cables to each of the installation points. For your safety, ensure the main switch at the electrical control box is turned off to prevent electric shocks and electrocution. Then, connect the three wires of the cable to the three wires of the downlight—red to red, black to black, and green to green. Or, rather, live to live, neutral to neutral, and earth to earth. Ensure you seal the ends of the wires with a wire cap to prevent short-circuiting.
Once that’s done, fit the fixture into the hole. Most downlights have spring-loaded metal clips that automatically snap into place to secure the fixture onto the ceiling. Repeat this procedure for all the downlights.
For the switch, you may want to have one controlling all the lights in one room. Experts call this a series connection. Or, you can have a switch for each light so that you control each individually. This is popularly known as a parallel connection. Whatever the system you choose, test the completed circuit to confirm that it’s working. And, that’s it!
To Conclude
Installing downlights in your home is an excellent step towards improving your home’s aesthetic value. So, go for it as soon as you can. Remember to work with qualified electrical contractors so that the project turns out successful.